Cake Pop Bouquet
Want to show your loved one a bit more effort than buying a bunch of flowers from the grocery store? Try these heartfelt, delicious bouquets of little cakes.
Materials
- 15 oz. cake mix
- ½ cup (1 stick) of room temperature salted butter
- 2 ½ cups powdered sugar
- 1 teaspoon vanilla extract
- 1 tablespoon room temperature milk/ heavy cream
- 20 oz. of chocolate melting wafers
- 24 cake pop sticks
Step 1: First, make the cake. To keep it easy, use a box cake mix. Any flavor works, so be a little selfless and choose according to your partner’s taste buds. Hopefully, the box directions will be simple enough.
Step 2: Next, make the buttercream frosting. Using an electric mixer, whip one stick of softened salted butter. Your butter must be room temperature, meaning you can press into it easily with your fingertips. If you haven’t left out the butter all day to soften (honestly, who does?), don’t try to microwave it. You’ll just end up with a half-hard, half-melted mess—nobody loves that. Instead, boil a bit of water in a large bowl, pour it out, and cover the butter with the bowl for a few minutes. The steam softens the butter perfectly. After whipping the butter for a couple minutes, it should be smooth and fluffy.
Step 3: Add in one cup of powdered sugar and beat again until just combined. Don’t put away the powdered sugar just yet. Add in one teaspoon of vanilla, and another half cup of powdered sugar. As that mixes, add one more cup of powdered sugar little by little, and top it off with a tablespoon of milk. Stop whipping the frosting once it can form peaks, which resemble miniature mountains that hold their shape.
Step 4: To make the cake pops, start by crumbling the cooled cake into a large bowl. Using your hands is easiest, so please stay sanitary. For the easiest crumbling experience, cut off the browned edges of the cake beforehand (they’ll serve as good scraps to keep you fueled while baking). Mix spoonfuls of your frosting into the crumbs. Keep adding frosting until you can easily roll a ball of the cake without it crumbling or cracking. Roll the cake into about 24 balls and put them in the freezer for 10 minutes.
Step 5: Meanwhile, melt 20 oz. of chocolate wafers in the microwave for 30 second intervals, stirring every interval until the chocolates are smooth. If your chocolate is really thick and won’t work for dipping, add in small amounts of vegetable oil. Keep adding it until your chocolate is runny.
Step 6: After freezing, dip each cake pop stick into the chocolate, then into the cake pop. Do this for all of them. Keep half of your cake pops in the freezer to keep them cool while you work on the first batch.
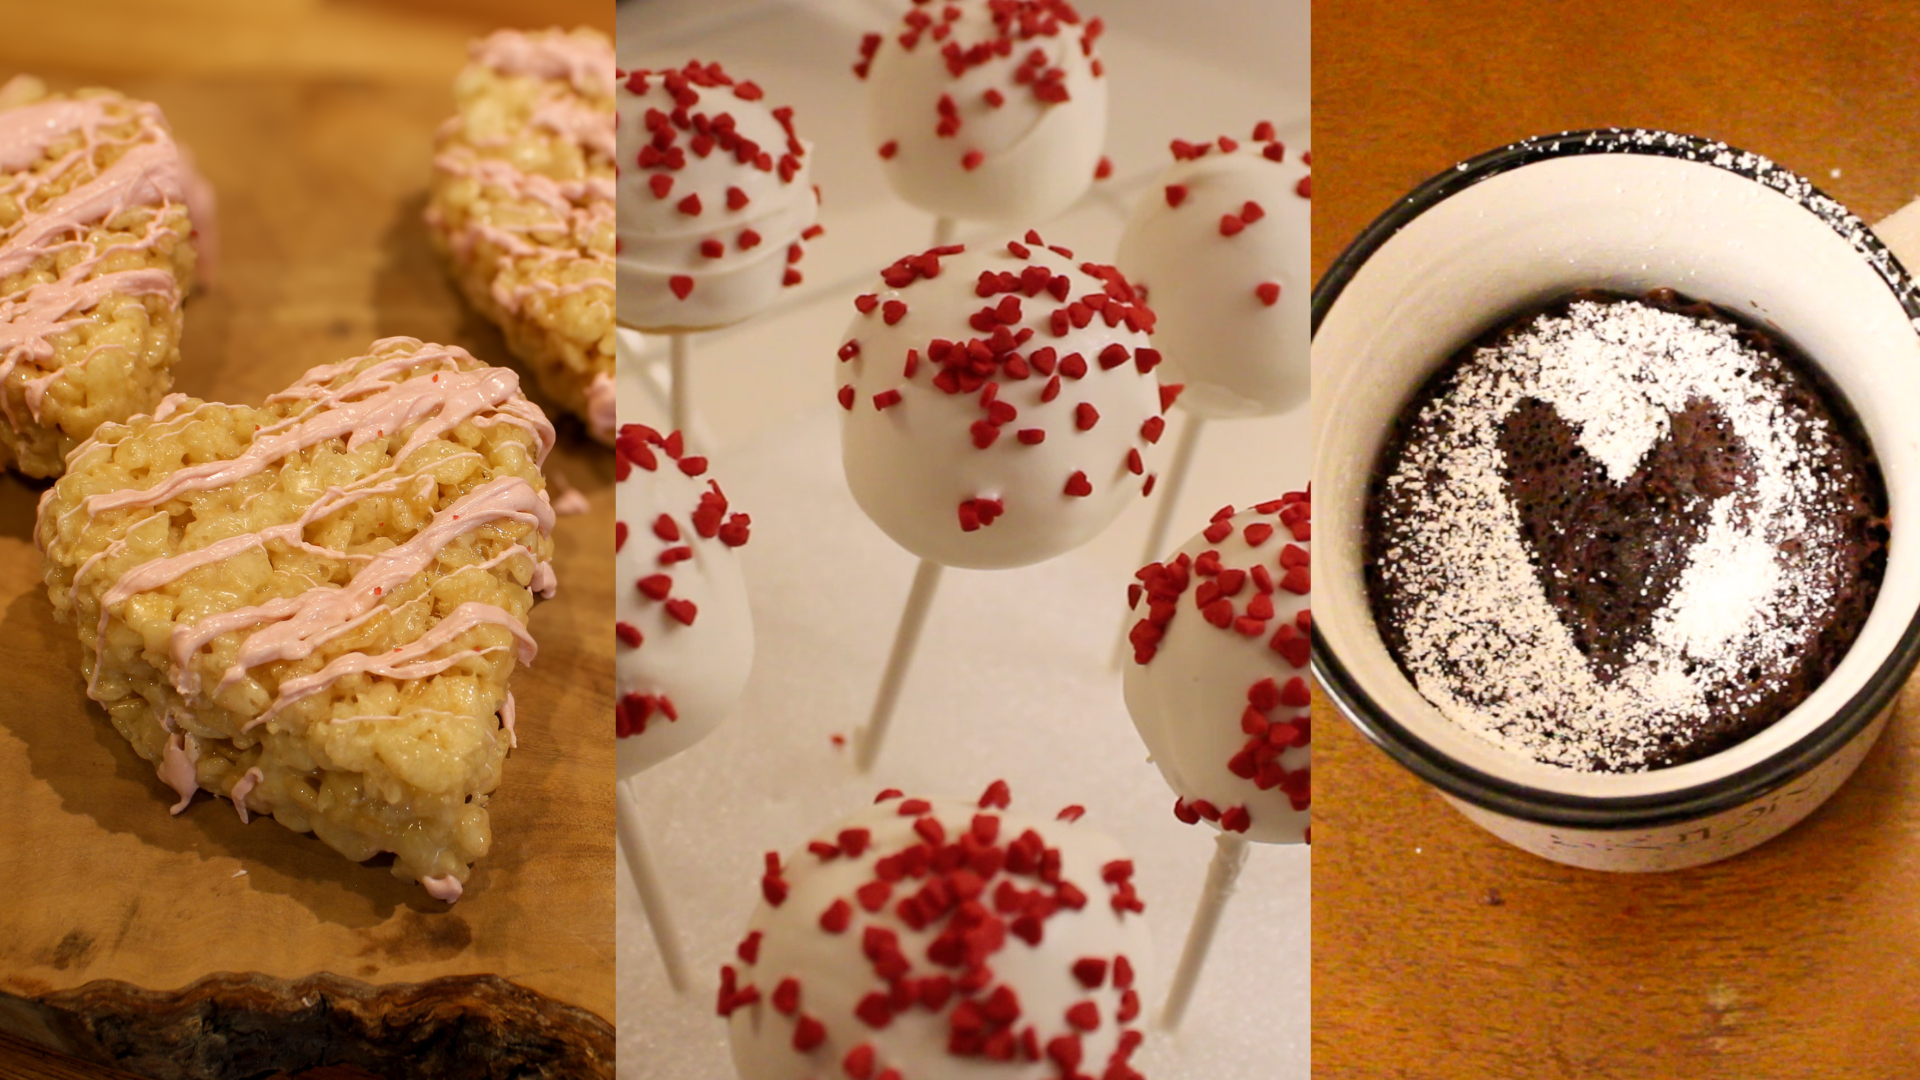
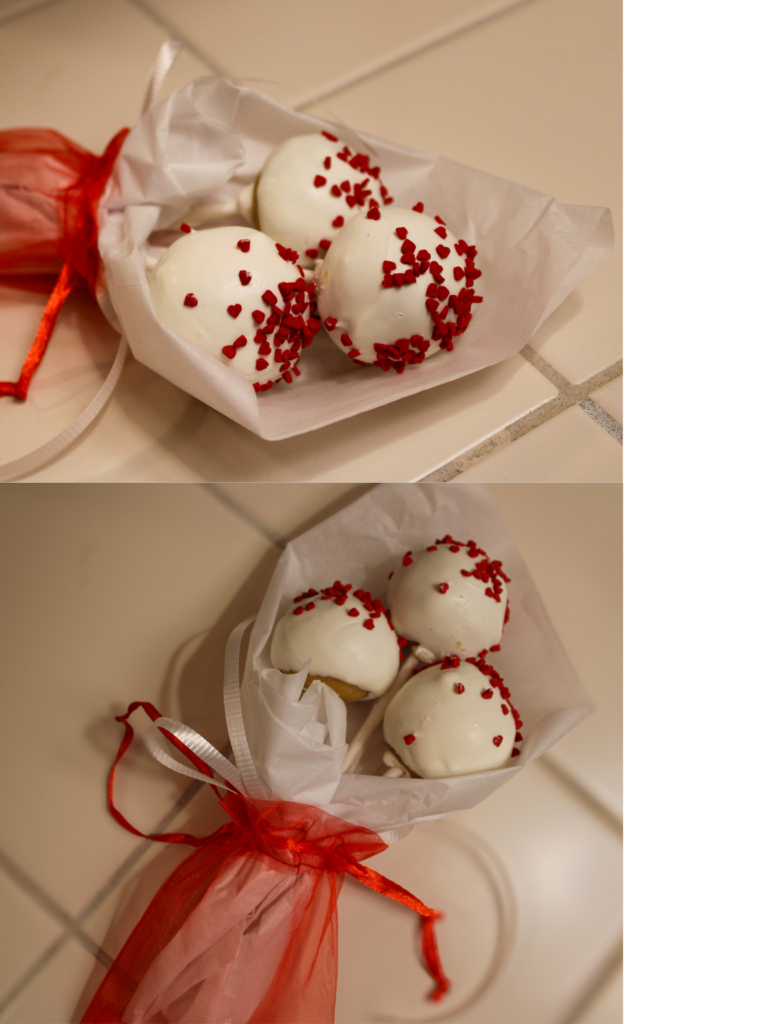
Step 7: Keep the cake pops with their sticks in the freezer until the chocolate is set. Have your chocolate ready for dipping in a skinny cup. Prepare a stand where you can stick your cake pops into, a styrofoam sheet works best, but pouring rice into a cup also does the trick. Dip each cake pop quickly, submerging it completely under the chocolate, and, while holding it over the cup, wiggle the stick to let excess chocolate drip off. Before the chocolate dries, coat the cake pop with your decorations, like little heart sprinkles, and stick it into your stand. Once the chocolate completely hardens, you can wrap three to four cake pops with tissue paper and tie with a little bow to form a delicious bouquet.
Rice Crispy Hearts
Remember the good old days back in elementary school when Valentine’s Day was a chance to share cute notes and candy with your class? Bring the tradition back with these easy treats perfect to pass around at the lunch table on Valentine’s Day.
Materials
- 1 bag of mini marshmallows
- 1 stick (½ cup) of butter (or less, for taste)
- ~7 oz white candy melts
- Extra butter to grease pan
- Heart-shaped cookie cutter
- Optional: freeze dried raspberries
Step 1: In a medium saucepan, melt butter and marshmallows over medium-low heat. Next, use butter to grease the glass pan. Yes, more butter. Your friends will swoon for these treats, so plan on making a lot more trips to the dairy isle. It’s just that addicting!
Step 2: Once the marshmallow and butter mixture loses all of its bulbous texture, take the saucepan off the heat and pour the rice cereal into it. Fold the fluff over the crispies, just like how you fold on plans with that one friend who is not invited to Galentines.
Step 3: After the crispies are fully incorporated into the white goo, relocate the drenched cereal into the pre-greased glass pan. Make sure to evenly flatten it out throughout the pan, eliminating all creases to ensure gorgeous treats. Let it rest for 20 minutes. After, use a heart-shaped mold to cut out your treats.
Step 4: Throw the candy melts in the microwave, heating for 30 second intervals on 50% power until there are no clumps, lumps, or bumps. In case some globs do remain, check the suggestion from the cake pop bouquet recipe to make it smooth . Add a few drops of red food coloring, but not too much—let’s save murder for Halloween. This should create a light pink color.
Step 5: To decorate the hearts, take a spoonful of the melted coating and shake the spoon over the hearts. Make sure to do this over a surface you don’t care too much about (maybe over your math homework), as there will be lots of excess in the process. It’s a good sign if your space gets messier than your relationship that didn’t make it this far. The result should be stripes of pink deliciousness over gooey rice crispy treats.
Optional: If you want to sweeten up this recipe even more, add freeze-dried raspberries. To do this, crush up a few whole raspberries and sprinkle them over the top of the coating before it dries.
Chocolate Mug Cake
Sick of the lovey-dovey mushy atmosphere of Valentine’s Day? Recover but still pledge tribute to the somewhat special day with a mug cake all for you. Or, after showering your loved ones with affection, show yourself some love right back!
Materials
- ¼ cup all-purpose flour
- 2 tablespoon unsweetened cocoa powder
- 1/4 teaspoon baking powder
- 2 tablespoon granulated sugar
- 1/8 teaspoon kosher salt
- ¼ cup + 1 tablespoon milk
- 2 tablespoon vegetable oil
- 1 tablespoon hazelnut chocolate spread or mini chocolate chips
- A bit of powdered sugar for decoration
Step 1: In a medium sized bowl, throw together the flour, cocoa powder, baking powder, sugar, and salt. Then, whisk in the milk and vegetable oil until the batter is smooth.
Step 2: Pour the batter into a microwave-safe mug big enough to leave some space for the cake to rise. An overflowing cake will ruin your day and the microwave.
Step 3: Drop the hazelnut chocolate spread or the mini chocolate chips into the middle of the batter. They will melt into the cake as it cooks, delivering ooey gooey chocolate perfection.
Step 4: Now, the only part that calls attention is the microwaving! Know your microwave’s strength; they all vary. Microwave from anywhere between 50 and 70 seconds, but be safe rather than sorry. Take out your cake once it has risen; it’s okay if it looks a bit undercooked, a moist cake is better than an overbaked crumbly one.
Step 5: For the final step to add some festival flair, cut out a paper heart, place it onto your cooled cake, sprinkle some powdered sugar over top, remove the paper, and voila! A super cute, but low effort treat.